Categories
College Hockey Recruiting Women's College Hockey Women's Hockey Youth Hockey

Creating Player Videos: Where to Post Your Recruiting Highlight Reels

This is the fifth and final post in a series on creating player videos college coaches want to see from potential recruits.

#1 How to Create Player Videos for Recruiting
#2 What Are The 3 Types of Recruiting Videos Coaches Want to See?
#3 Sourcing Game Footage For Highlight Reels
#4 How to Edit Video for Recruiting Highlight Reels

This is the last post on creating recruiting videos and it focuses on where to upload your video to share with coaches.

There are two types of situations to share videos with coaches.  The first, is directly one-to-one with a specific  coach and the second is one-to-many.

Video Analytics

Ideally, in both situations your want to post the video in a manner where you can track some metrics about your video. This could include various attributes like who has watched you video, how many times the video has been watched. In addition, you might also be able to track location, how long users watched the video and where the user came from prior to watching your video (e.g. search, email, social media etc.)

YouTube

The easiest method to upload a video to share is using YouTube.  A public YouTube video lets your video be found via search engines and within YouTube and you can easily track views and additional measurements about your video.  You can also upload the same or personalized videos for specific coaches or schools separately to track viewership by team.  In most situations, YouTube offers all of these hosting services for free.

Vimeo

Another similar service is Vimeo which offers both free and paid options depending on which capabilities you might want for hosting , tracking and possibly editing capabilities.

Social Media Platforms

Many student-athletes also use social media platforms, such as, Twitter, TikTok and Instagram, to share their recruiting videos. This allows coaches to view the videos at their convenience and share them with other members of their coaching staff.

You can also store video files in a private folder in the cloud using Google Drive, Dropbox or Box and share links to those files with specific teams or individuals.  Once again, using trackable links and privacy controls, you can control and specify who has access to you files and check if coaches have watched the videos.

Other Channels

It’s important to note that college coaches and recruiters may also use other resources to evaluate prospective student-athletes, such as game film, scouting services, and in-person evaluations. Therefore, it’s important for student-athletes to showcase their skills and abilities through multiple channels to increase their visibility to college coaches.

Team Website

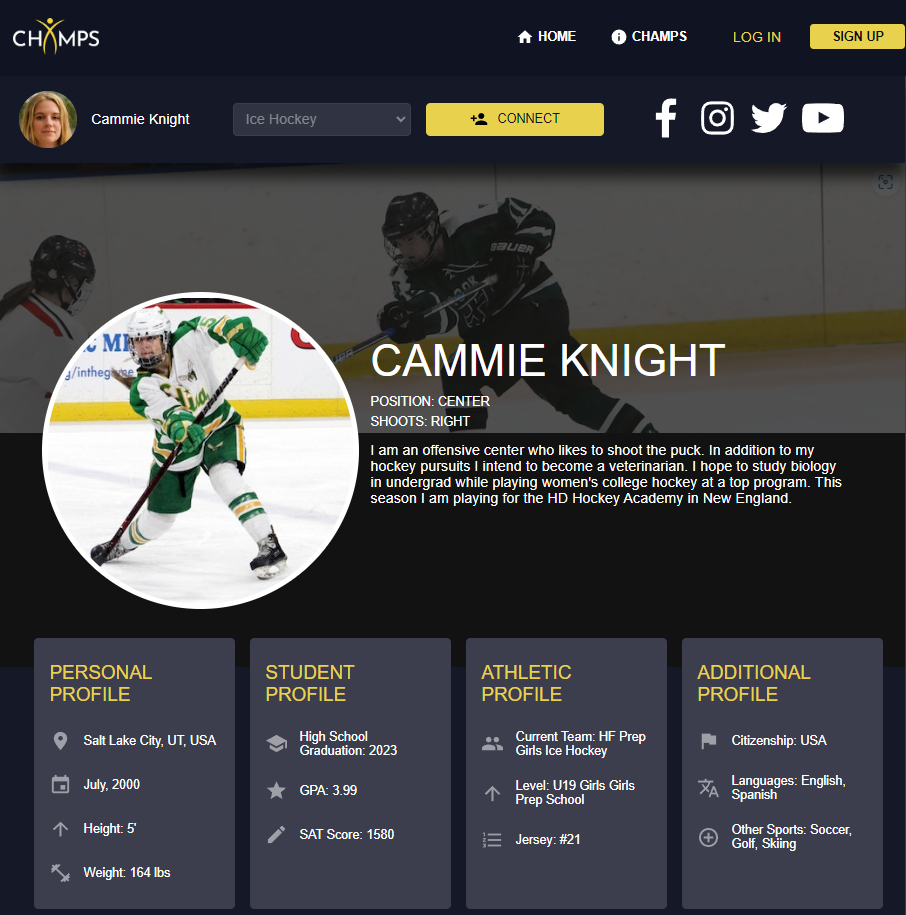
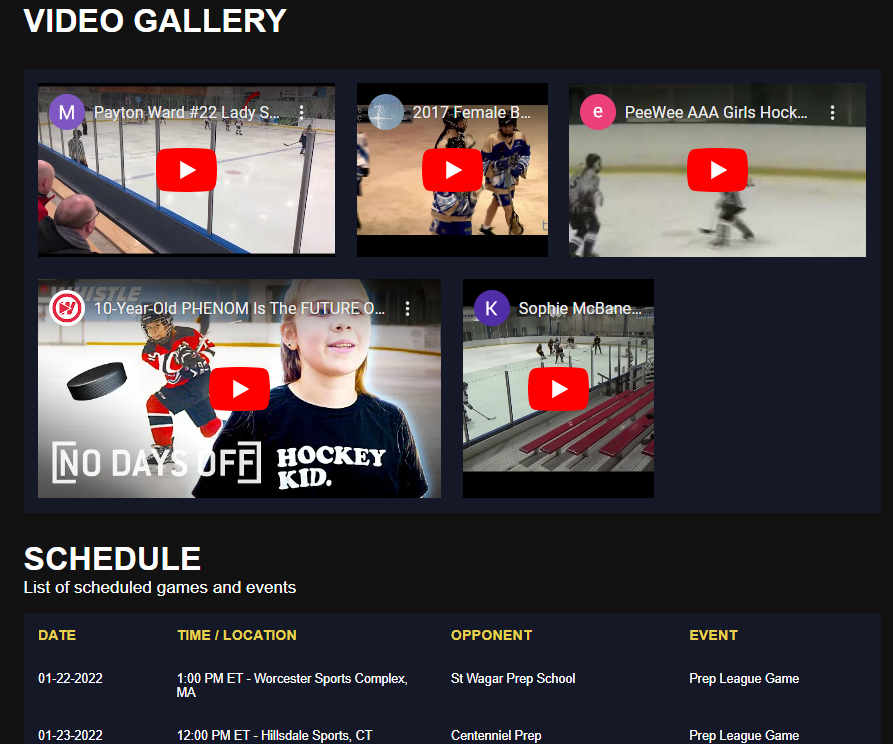
One last category is the host the video on the same site where you publish you online hockey resume.  It can be on your team site, using a recruiting service or on your Champs App profile page. Currently Champs App only allows YouTube video links, but in the future you will be able to store your videos directly on your profile page then share and track who has watched you videos.

Feel free to share your method of hosting your highlight videos – please send us your preferred method and we can add them to this post. 

Categories
College Hockey Recruiting Women's College Hockey Women's Hockey Youth Hockey

Creating Player Videos: How to Edit Video for Recruiting Highlight Reels

This is the fourth post in a series on creating player videos college coaches want to see from potential recruits.

#1 How to Create Player Videos for Recruiting
#2 What Are The 3 Types of Recruiting Videos Coaches Want to See?
#3 Sourcing Game Footage For Highlight Reels
#5 Where to Post Your Recruiting Highlight Reels

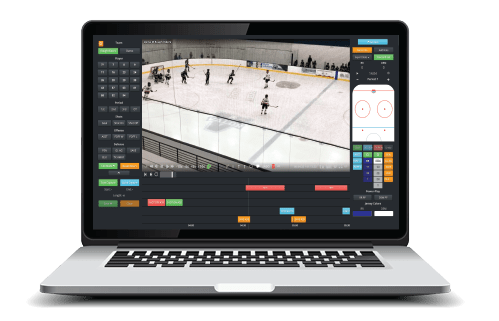
This post is not about creating professional hockey videos for teams or coaches.  Nor is it intended to help with analytics or stat tracking like Hudl or Instat. Instead it is simply just to help players and parents make simple highlight videos college coaches want to see from potential recruits.  As a result, we will only cover basic tools to help edit and produce these types of videos to the exclusion of fancy stat software packages used for more sophisticated needs.

There are dozens of premium hockey-specific video editing tools out there. This post does not cover in any of them. Feel free to do an online search if you want to find some of the top names in this category. Instead, we will only discuss the common general purpose video editing tools that are most popular and relatively simple to use.

There are also many, many service providers who will be happy to make professional looking videos for you for a fee. Nothing wrong with hiring someone to make your video, but with a little effort, you can save yourself a lot of money.

Candidly, I have used very basic tools to help edit video and create graphics.  I’ve never paid for any additional software beyond what I already use either at home or at work.  There are many parents (and definitely most players) who have better media-making skills than I do.  But what matters is delivering presentable videos that meet the needs of coaches.

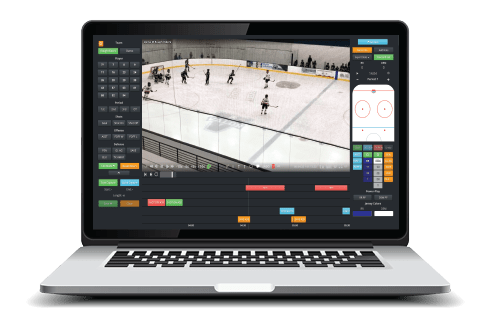
As for editing tools, there are many free programs and several movie editing tools which are relatively low cost. All  of them are pretty easy to use once you’ve gone up the learning curve on your first couple of videos. . These software packages include iMovie, Final Cut, Adobe, Windows Movie Maker and Microsoft Video Editor. And these days there are many browser-based video editing tools as well.

You can make your own graphics using common graphical editing and presentation tools like Keynote, Adobe, Powerpoint and Google Slides.  There are also good, either free or very inexpensive graphical design offerings like Canva and stock image sites.

What to include in all your videos

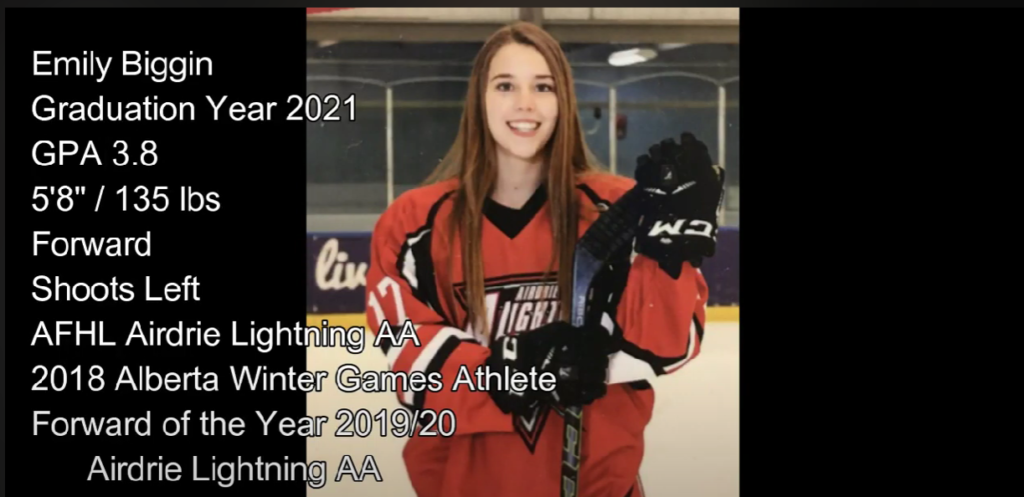
  1. An intro graphic which provides the basic information about the player. Ideally it includes most of the following:
    • Profile pic
    • Birthday
    • Height
    • Graduation Year
    • Current Team
    • Position
    • Jersey #
    • Current Coach
    • Contact Info (optional)
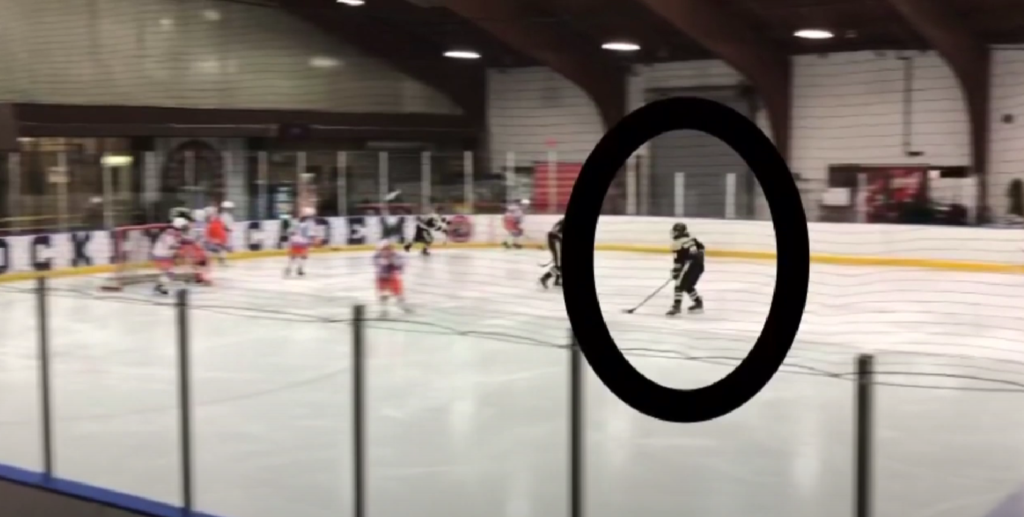
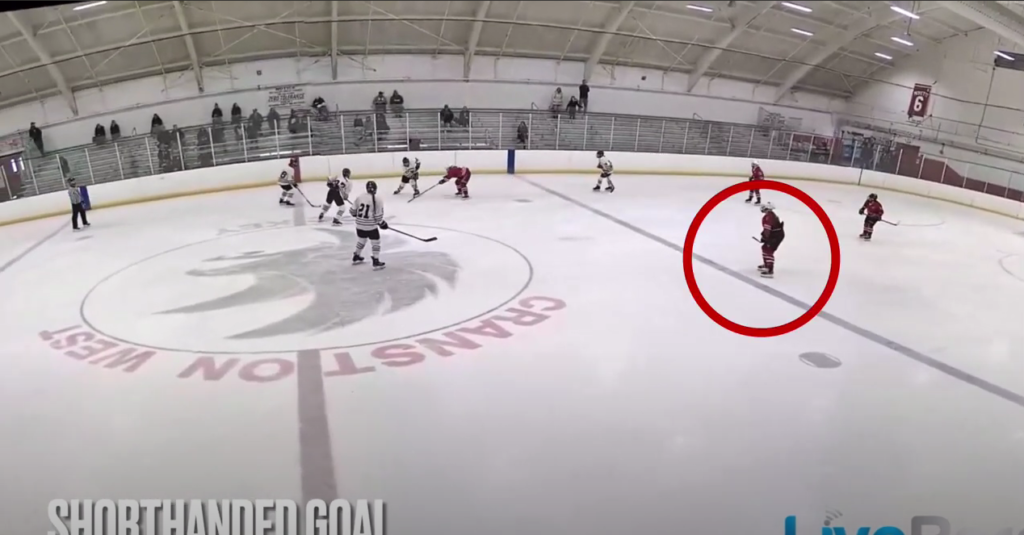
  2. During each clip/scene use some type of graphic (e.g. circle, arrow etc.) to identify the player
  3. Informational Graphics

Another common element I’ve seen in highlight video (not full games) is some type of on-screen graphic which communicates to the viewer what type of highlight they are about to see. It could be anything from a goal or assist, to a good defensive play or fancy pass.  If there are specific critical attributes of a player’s game that you want to emphasize, explicitly calling them out on-screen beforehand can be helpful.

Should you include music? 

That is a personal choice. Many coaches have told me they’d prefer not to listen to a soundtrack with the video, but they can always mute the sound of any video if they don’t want to hear it.

I am sure I am missing some additional editing tools and other methods of cutting video, so please feel free to send us your methods and we can add them to this post. 

Categories
College Hockey Recruiting Women's College Hockey Women's Hockey Youth Hockey

Creating Player Videos: Sourcing Game Footage For Highlight Reels

This is the third post in a series on creating player videos college coaches want to see from potential recruits.

#1 How to Create Player Videos for Recruiting
#2 What Are The 3 Types of Recruiting Videos Coaches Want to See? – Champs App
#How to Edit Video for Recruiting Highlight Reels
#5 Where to Post Your Recruiting Highlight Reels

Now that you decided you want to create videos for your player the first step is to get raw game footage you can use to create the three different types of highlight reels coaches want to see.

Live Streaming Services

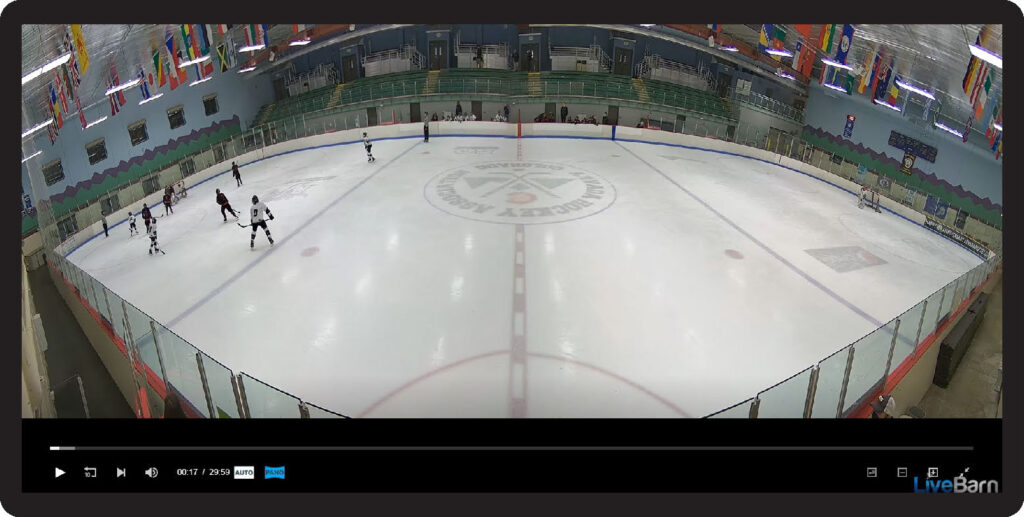
In both the US and Canada, LiveBarn is the most popular hockey streaming service.  What is great about LiveBarn is that you can easily download either 30 second clips or full games.  While sometimes the quality isn’t great or the camera is sometimes  not focused on the  puck,  in general it is one of the most consistent sources of footage that you can use.

The second most popular game streaming available is from HockeyTV.  Depending on the event and/or rink, the service has a very good browsing capability to find specific games and navigating within games.  The big drawback for HockeyTV is that you need to pay an extra  fee to download specific games – which makes it expensive to use for editing full games.  My trick is to just use my phone’s camera to record specific highlights from of the HockeyTV screen.

Additional Streaming Services

There are also other hockey streaming services available in specific regions or events. For example, in Minnesota there are rink-specific  feeds that you can pay to watch games. And there is also the GameOn streaming service in Canada that is available for major events and specific rinks.  Once again, the fees vary either by one-time access to events (e.g. tournament or showcase) or subscriptions.

Recoding Games Yourself (or by someone on your team)

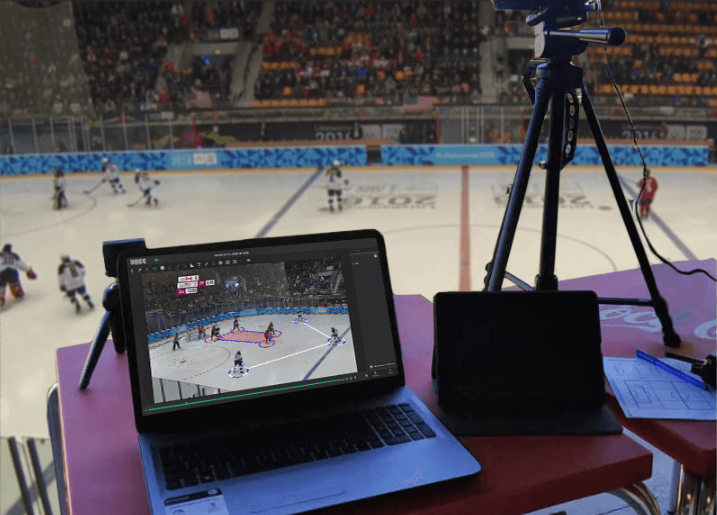
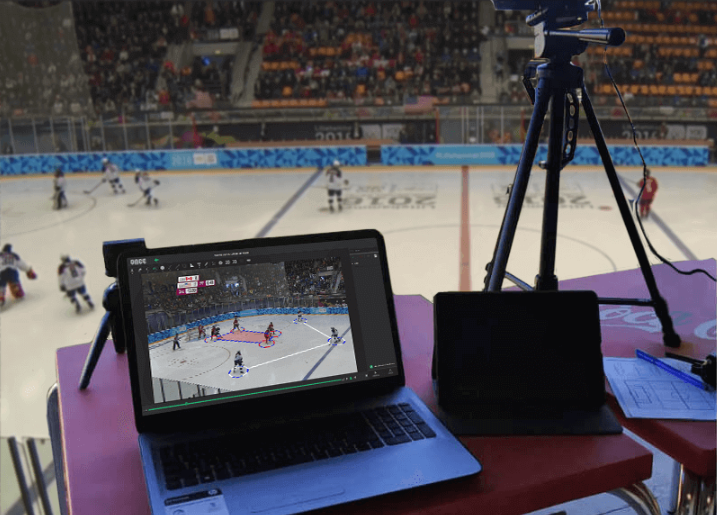
At almost every rink, you will find at least one parent with either an iPad or video camera on a tripod recording or streaming a game.  The quality is usually very good and as long as they camera person pays attention the entire game, there is usually some great footage.

In addition, I consistently see at least one parent along the glass takes out their phone every time their kid is on the ice and start the recording their shifts.

One more method is to use GoPro cameras. This is my personal favorite source of game footage  as a supplement to LiveBarn.  It is especially good for goalies.  While you only need one camera and you can decide which end is more appropriate to record based on your player and period,  I like to use two cameras at both ends of the rink behind the goalies.  The only challenge with using GoPros is that it is a lot of work.  Beyond shelling out ~$200 or more for a camera, memory card and necessary accessories to stick it to the glass, you also need to make sure you have enough power to last the entire game.  This can be through charging the in-camera batteries or connecting an external battery pack.  And remembering to charge the batteries and empty the memory cards before/after games is another chore. However, the payoff is that the quality of the video for offensive plays and goalie footage is about as good as it gets. I can’t tell you how many goalies (and their parents) have asked me to send them video of their end when they know that I recorded their game.

OTHER FOOTAGE SOURCES

Sometimes a game or a highlight is available from some third party that I have seen on social media or know about from our team chat.

Many games are live broadcast or posted to YouTube either by the opposing team or a tournament/showcase organizer (e.g. NAHA Winterhawks games and more).  You may be able to find game footage just by doing a search on YouTube.  If you have a premium YouTube subscription you can download videos with your account. There are also “free” websites to download YouTube videos, but since many of the sites are filled with suspicious ads and potential malware, I won’t link to any of them here. I would just suggest you use caution when using one of these services.

Twitch, Facebook LiveLivestream or Other Personal  Live Broadcasting  Services

Similar to YouTube, many parents live stream games using their personal social media accounts. I have used footage from Faceboook Live and SeasonCast . You may not be able to download the full game video, but you can use your phone to capture short highlights.

Social Media

Every once in a while I will find a short  highlight I want to use on Twitter or Instagram.  Usually someone else posted a great play from an angle or a shot that is better than what I have on my footage, so I find a way to capture or download it.

One more trick I use is a screen recording software (sometimes I use Screencast – but you can also just use Zoom to record your screen) to capture and download video from a 3rd party source that is not available for easy download.

I am sure I am missing some additional sources of footage and other methods of capturing game video, so please feel free to send us your methods and we can add them to this post. 

Categories
College Hockey Recruiting Women's College Hockey Women's Hockey

What Are The 3 Types of Recruiting Videos Coaches Want to See?

This is the second post in a series about how to create hockey highlight videos to help with your player’s recruiting process.

#1 How to Create Player Videos for Recruiting

#3 Sourcing Game Footage for Highlight Reels

#How to Edit Video for Recruiting Highlight Reels
#5 Where to Post Your Recruiting Highlight Reels

Having talked to almost 40 Division I women’s hockey coaches, this is the feedback I’ve received on different types of video compilations:

1. Highlight videos

There is nothing wrong with putting together clips of the best offensive and/or defensive plays a skater has made throughout the season.  For goalies,  it would be great saves from real games (not practice).  While coaches know that whatever is in a highlight reel is not representative of how any player plays for a full game, highlight clips show off how you can play when you are at your best.  Keep in mind that coaches only get snapshots of a player when they watch live or on video,  and unless you are a superstar or they get lucky, it is unlikely coaches be watching those key highlight moments.    Whatever the position of the player, make sure you have at least a 2-3 minute compilation of your best moments  so coaches can see what you are capable of.

2. Full Shifts for an Entire Game

This is the most important type of video coaches who are serious about recruiting you want to see. Coaches want to watch you play a full game – ideally in the least amount of time possible. Cutting a single game down to just your shifts can allow a coach to watch you play a full game in less than 20 minutes which would normally take 60-90 minutes. This is a highly efficient use of a coach’s time instead of having to sit through whistles, ice cuts and trying to figure out when you will come out on the ice. Now, obviously coaches can’t see everything they want to see –like how you behave on the bench or how you handle mistakes after a whistle, but it certainly gets them a lot closer to knowing what kind of player you are.

The only other key point on this topic, is to make sure the game you choose is against a competitive, high quality opponent (check out My Hockey Rankings for how good the opponent is), since coaches don’t really want to watch a lopsided game. An exception would be if you are a goalie getting peppered with pucks by a much better team, and you stood on your head.

3. Compilation of Game-Specific Situations

This is a nice-to-have type of video to include in your profile.  For every position there are key, fundamental game situations that each player encounters every game.  Putting together a very focused highlight reel of just that one situation spanning several games, really helps coaches see how consistent you are with your game.  A good example is a watching a defender go back to retrieve a puck in their end while being chased by an opposing forward – how often does the D use deception (a fake) before they touch the puck?

Here are some examples of game specific situation compilations you can put together for each position:

Forwards:

  • Offensive Zone entries
  • Power Play
  • Penalty Kill
  • Breakouts
  • Shots (e.g. wrist, slap, snap, one-timer)
  • Breakaways

Defense:

  • Defensive zone puck retrievals
  •  1-on-1s
  •  2-on-1s
  • Passing
  • Offensive production/shots

Goalies:

  • 1-on-1s
  • 2-on-1s
  • Penalty Kill
  • Penalty Shots/Shoot Outs

In the next post we will discuss how to compile all the different types of video footage you could use to create the above videos.

Categories
College Hockey Recruiting Women's College Hockey Women's Hockey

How to Create Player Videos for Recruiting

This is the first post in a series about how to create hockey highlight videos to help with your player’s recruiting process. 

In my experience, while an online hockey profile from Champs App is like a resume in the recruiting process, videos are similar to taking an aptitude test for a job.  Rarely will your profile and video get you an offer (now that Covid restrictions have gone away), but it can certainly move you up a team’s priority list.  Posting and updating game-related videos to your Champs App profile throughout the season can also keep you top-of-mind for coaches as they track your progress over several months.

This series will cover the following topics:

Anyone can create these videos, it doesn’t need to be a parent.  If your player has a computer or iPad, they could do it themselves if they have the inclination.  In addition, while expensive, there are third-party service providers who can perform some if not all of the editing  on your behalf for a fee.  Thanks to AI, the costs for these services have been coming down in recent years.  However, these posts will focus on how to do it all yourself. All you will need are some basic computer skills and the most important ingredient – your time.

Create your Champs App Profile

Note: During my research into this series on creating hockey player videos for recruiting, I learned that some hockey programs use InStat for video tracking and analytics. As a result, all the teams using InStat share their videos with other teams/schools and therefore the video clips of player shifts are available to college coaches to review. While it is a another option for how coaches can watch your player videos, I would still recommend creating your own videos so that you are sure the “right” types of videos are available to the teams & coaches of interest.

Next Posts…

#2 What Are The 3 Types of Recruiting Videos Coaches Want to See?
#3 Creating Player Videos: Sourcing Game Footage for Highlight Reels
#How to Edit Video for Recruiting Highlight Reels
#5 Where to Post Your Recruiting Highlight Reels