This is the fourth post in a series on creating player videos college coaches want to see from potential recruits.
#1 How to Create Player Videos for Recruiting
#2 What Are The 3 Types of Recruiting Videos Coaches Want to See?
#3 Sourcing Game Footage For Highlight Reels
#5 Where to Post Your Recruiting Highlight Reels


This post is not about creating professional hockey videos for teams or coaches. Nor is it intended to help with analytics or stat tracking like Hudl or Instat. Instead it is simply just to help players and parents make simple highlight videos college coaches want to see from potential recruits. As a result, we will only cover basic tools to help edit and produce these types of videos to the exclusion of fancy stat software packages used for more sophisticated needs.
There are dozens of premium hockey-specific video editing tools out there. This post does not cover in any of them. Feel free to do an online search if you want to find some of the top names in this category. Instead, we will only discuss the common general purpose video editing tools that are most popular and relatively simple to use.
There are also many, many service providers who will be happy to make professional looking videos for you for a fee. Nothing wrong with hiring someone to make your video, but with a little effort, you can save yourself a lot of money.
Candidly, I have used very basic tools to help edit video and create graphics. I’ve never paid for any additional software beyond what I already use either at home or at work. There are many parents (and definitely most players) who have better media-making skills than I do. But what matters is delivering presentable videos that meet the needs of coaches.


As for editing tools, there are many free programs and several movie editing tools which are relatively low cost. All of them are pretty easy to use once you’ve gone up the learning curve on your first couple of videos. . These software packages include iMovie, Final Cut, Adobe, Windows Movie Maker and Microsoft Video Editor. And these days there are many browser-based video editing tools as well.
You can make your own graphics using common graphical editing and presentation tools like Keynote, Adobe, Powerpoint and Google Slides. There are also good, either free or very inexpensive graphical design offerings like Canva and stock image sites.
What to include in all your videos
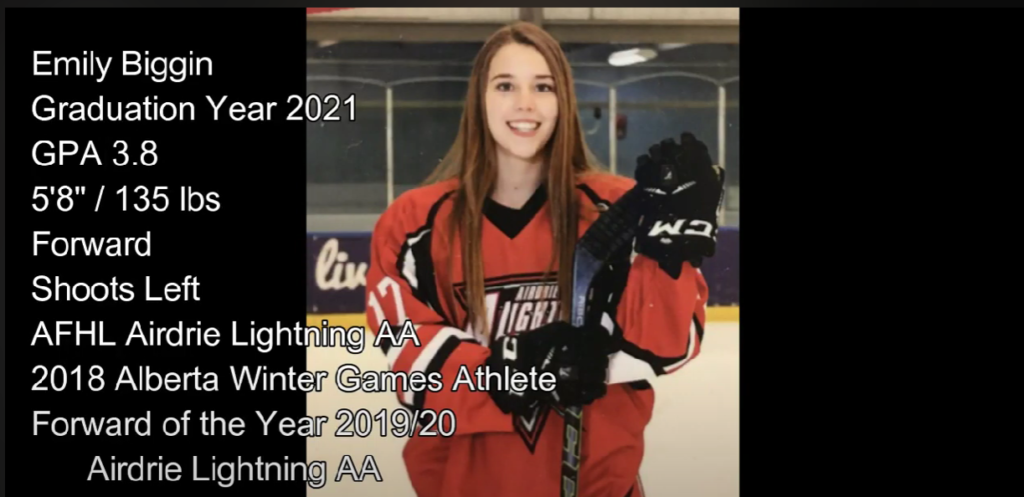
- An intro graphic which provides the basic information about the player. Ideally it includes most of the following:
- Profile pic
- Birthday
- Height
- Graduation Year
- Current Team
- Position
- Jersey #
- Current Coach
- Contact Info (optional)
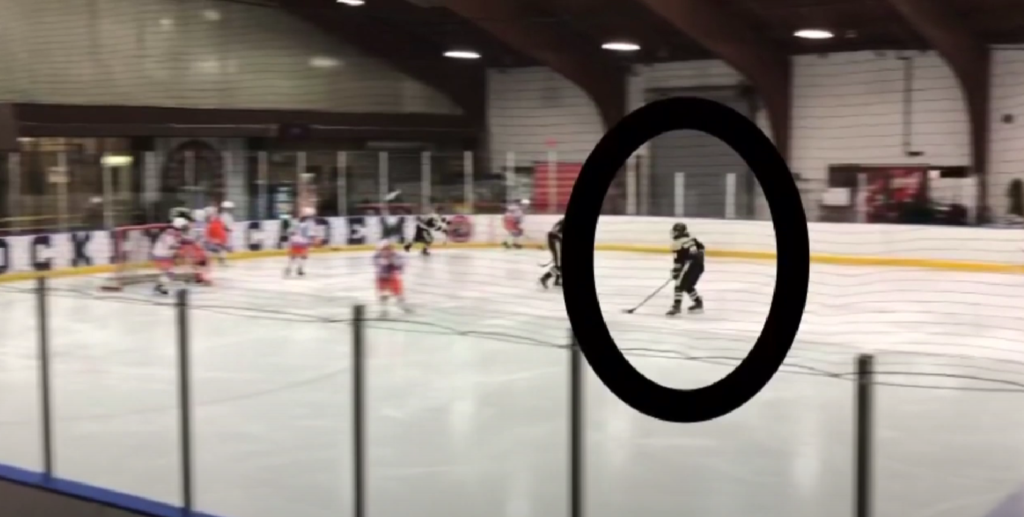
- During each clip/scene use some type of graphic (e.g. circle, arrow etc.) to identify the player
- Informational Graphics
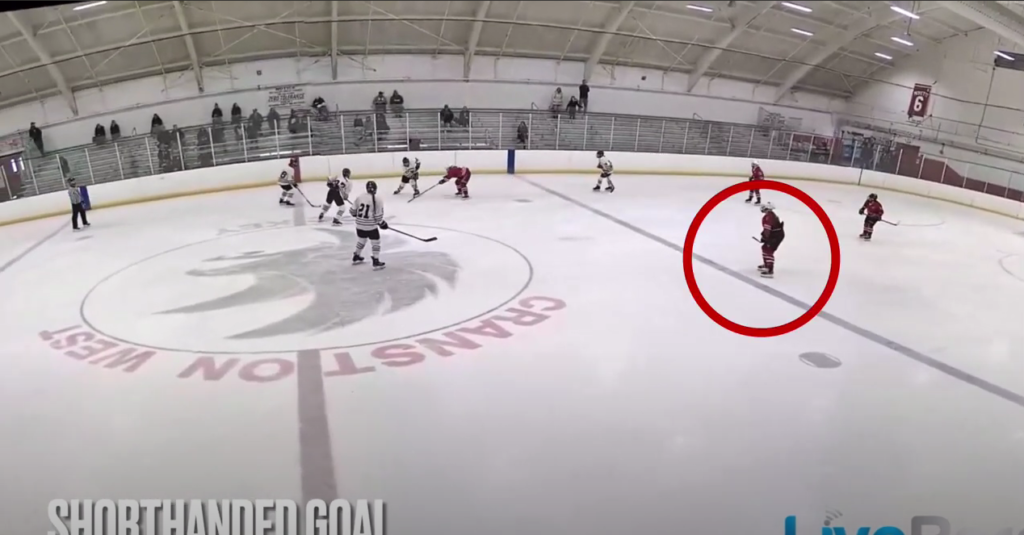
Another common element I’ve seen in highlight video (not full games) is some type of on-screen graphic which communicates to the viewer what type of highlight they are about to see. It could be anything from a goal or assist, to a good defensive play or fancy pass. If there are specific critical attributes of a player’s game that you want to emphasize, explicitly calling them out on-screen beforehand can be helpful.
Should you include music?
That is a personal choice. Many coaches have told me they’d prefer not to listen to a soundtrack with the video, but they can always mute the sound of any video if they don’t want to hear it.
I am sure I am missing some additional editing tools and other methods of cutting video, so please feel free to send us your methods and we can add them to this post.
